Beautiful product photography can be very simple in appearance, yet often challenging to achieve. Why? Because good lighting is everything.
I am always up for any task and eager to learn and try new things, so I was very excited in late November when a long time client, an Atlanta-base agency specializing in building and construction products, reached out on behalf of their Canada-based client who manufactures decorative architectural siding and corner pieces that replicates cedar shake and decorative stone.
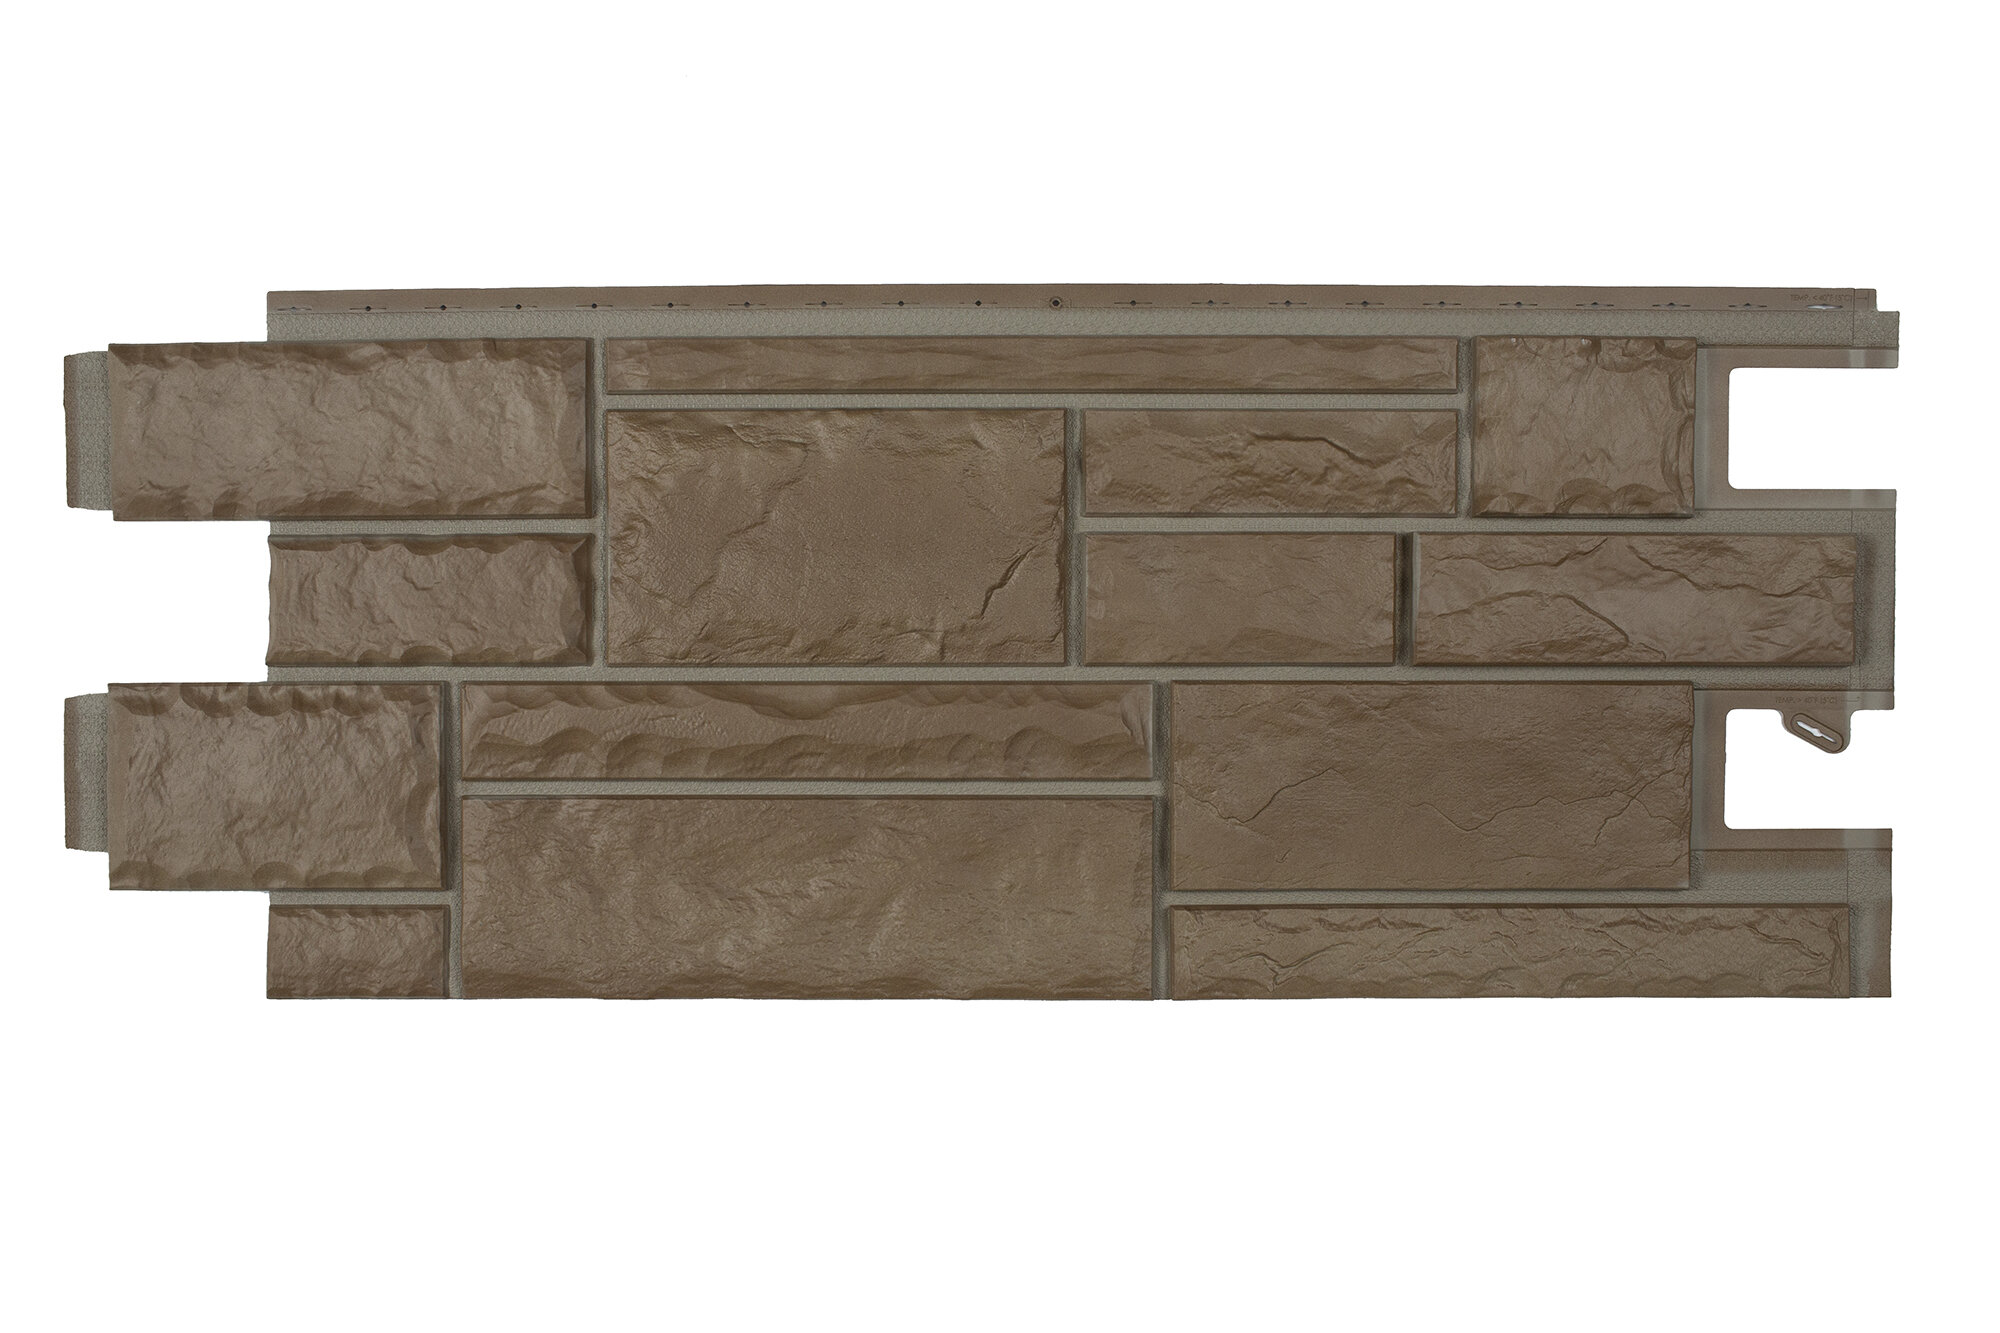
The project for the Client was simple: to photograph each of the items on seamless white paper for two of their top-selling product lines capturing the intricate color and texture detail offered in both. The photos would then be used in online product catalogs that would appear on the company's website as well as websites for major big box retailers: Home Depot, Lowe’s, Menard's, etc.
The products I photographed for this project offers affordable luxury that is attractive and easy to install with its unique product lines. These products are the perfect ft for builders, contractors, facility managers, home improvement retailers and consumers who take pride in the aesthetic appearance of their home or offices.
Ninety-nine percent of my photo shoots are on location so I do not have a brick and mortar studio. Since the project was going to span numerous days, I opted to photograph everything in my home studio: AKA the garage. After the budget and timeline was discussed and approved, the fun began.
The first task: The delivery of the nine-foot by nine-foot pallet containing more than 20 boxes of product into my garage. The boxes were delivered by freight truck and since I have a steep driveway, the driver could not get the pallet jack up into my garage. So with the help of my trusty Rock-N-Roller cart, we broke the pallet down and hauled everything into my garage, a few boxes at a time. Thankfully, none were heavy, just too bulky to carry by hand.

Time to sort the boxes.
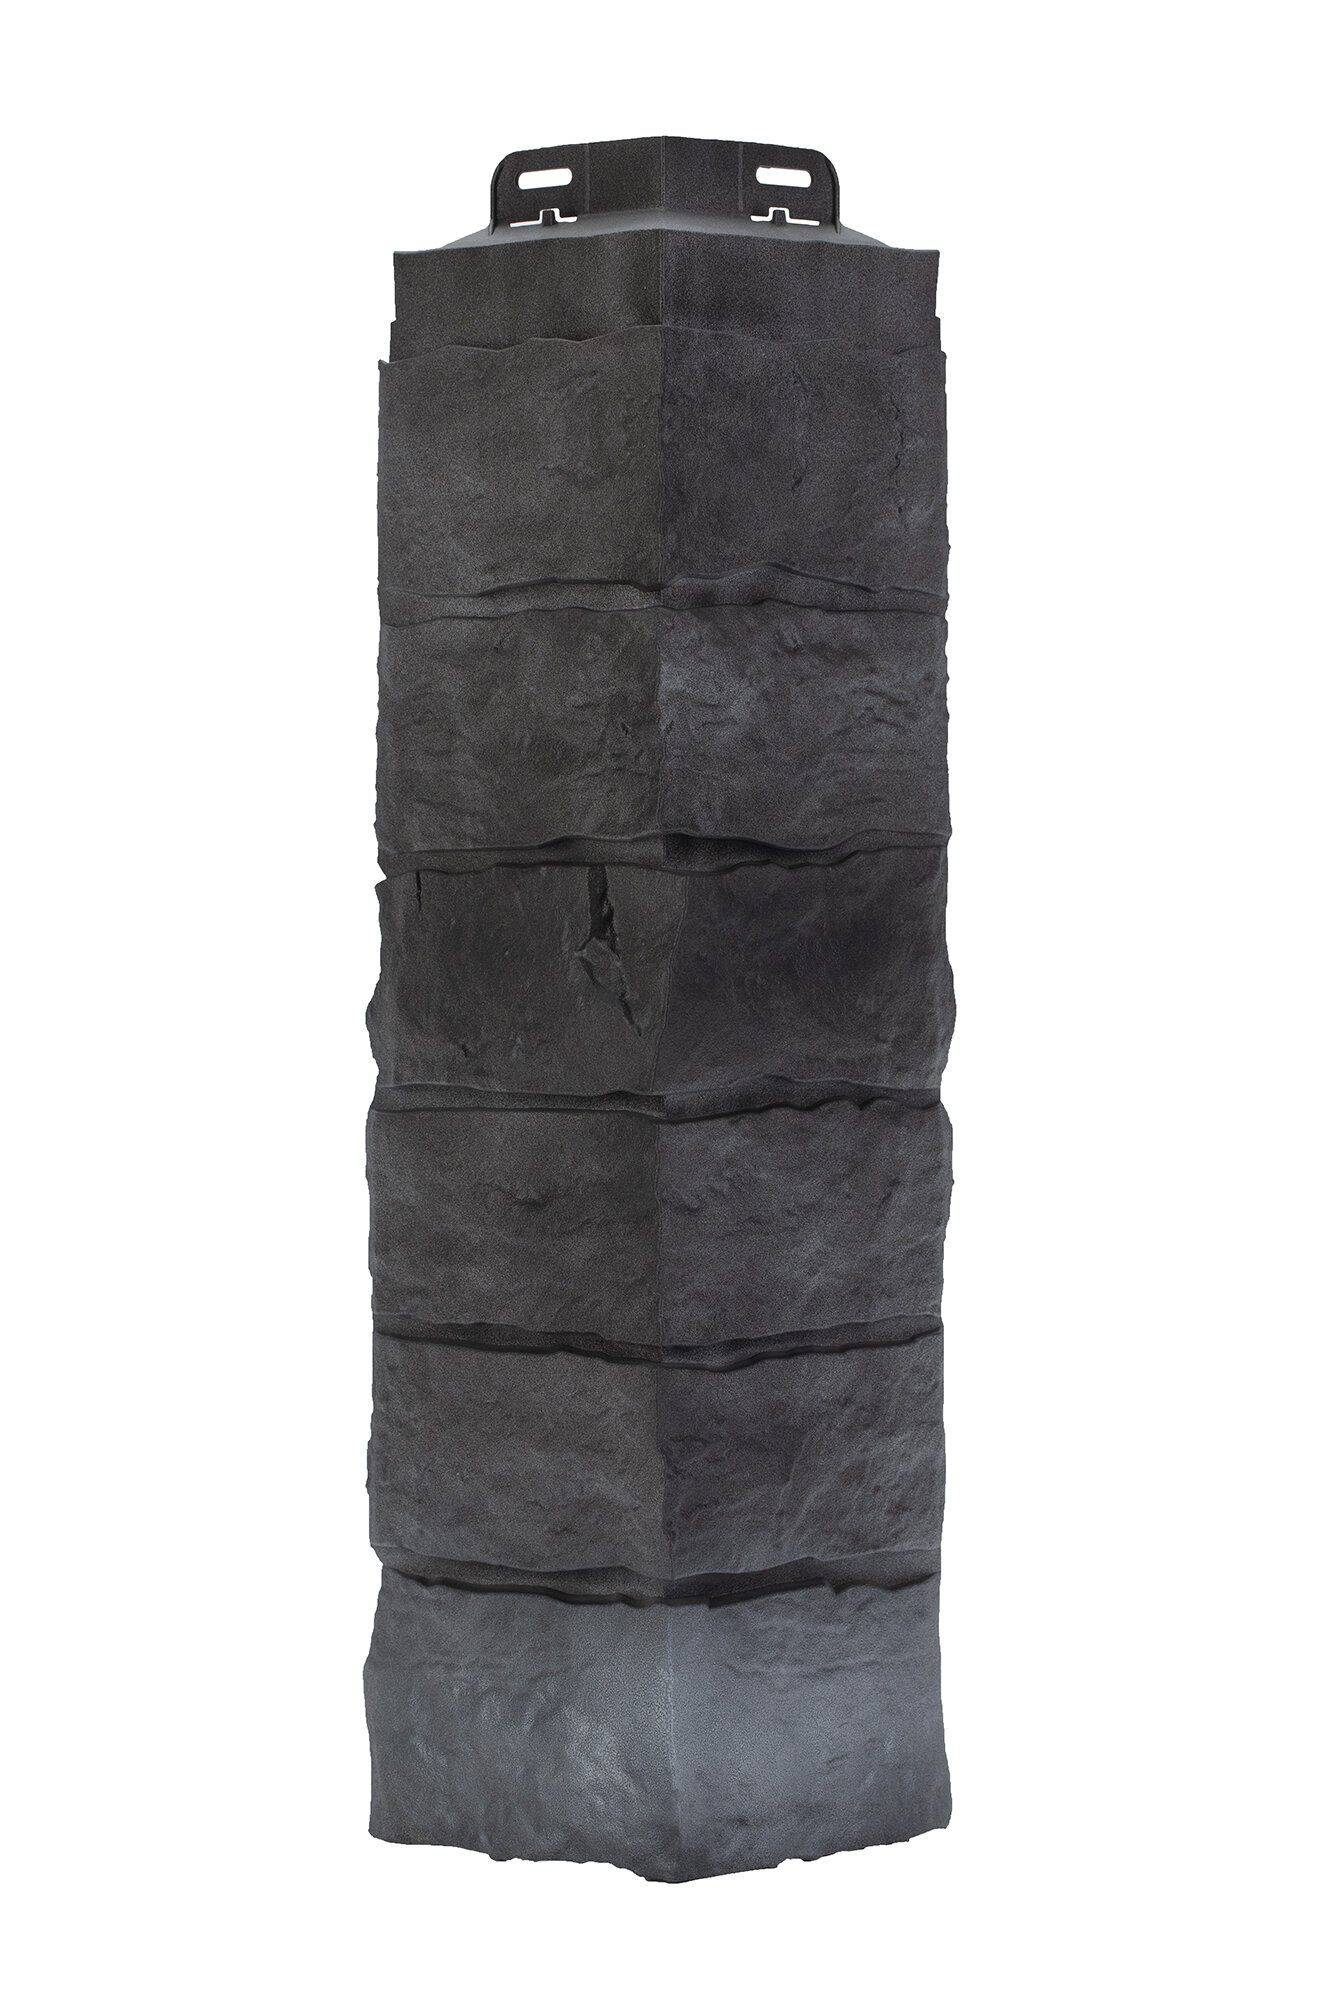
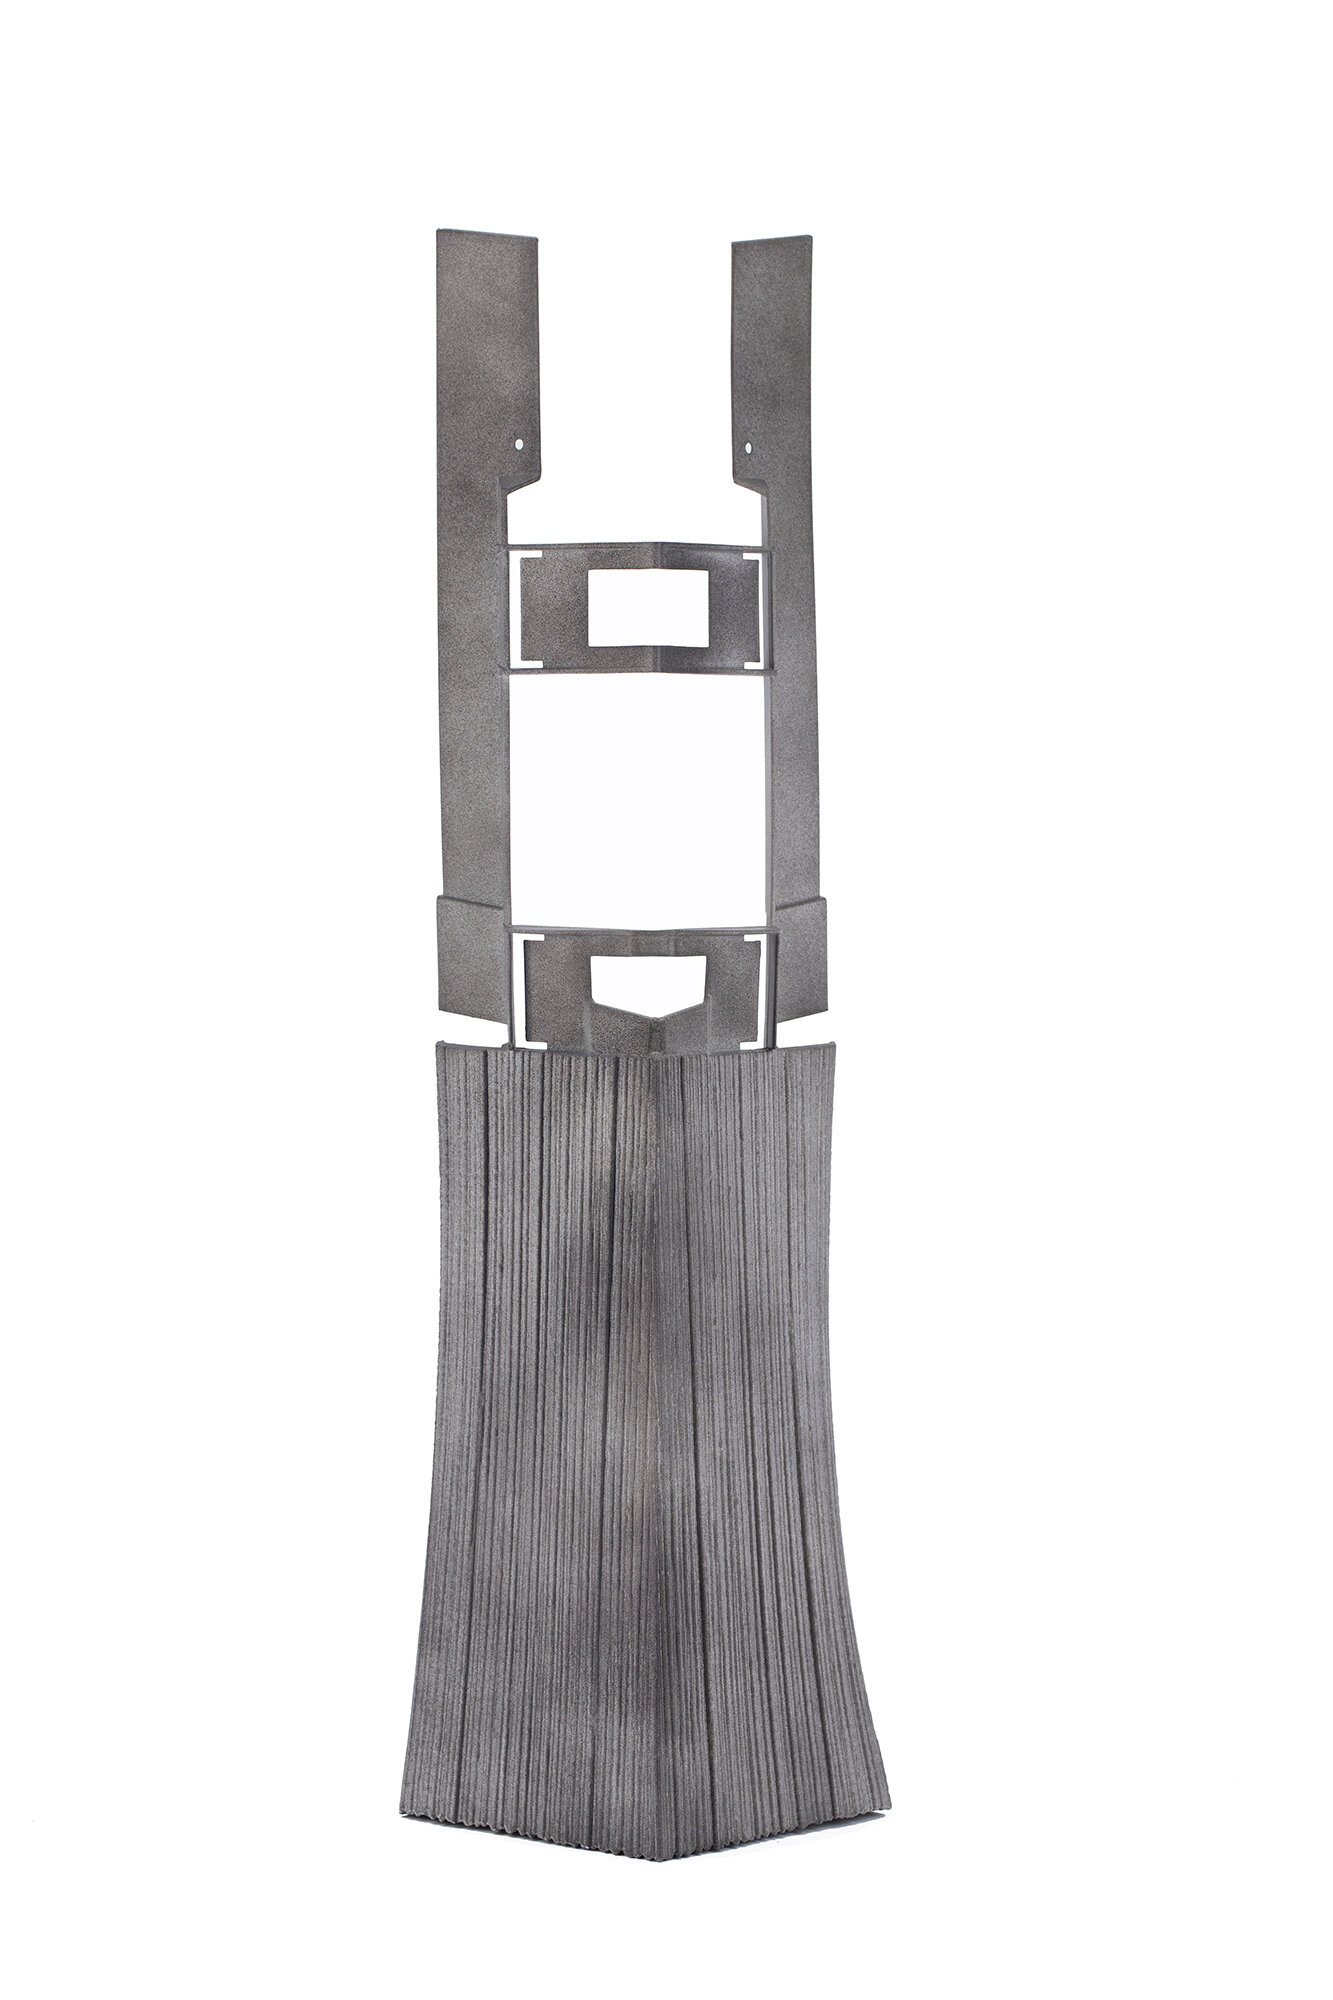
All of the products were architectural panels and corners ranging in size from 12”-18” inches tall for the corners and between three and four feet long for most of the panels. One speciifc product line consisted of panels that were eight feet long and about eight inches wide. This posed the biggest challenge.
How do I photograph something eight feet long, and extremely narrow when compared to its length in my garage?
The solution: shoot it vertically.
My husband, who can build pretty much anything, constructed a 7.5’ foot tall L-shaped bracket that we weighted down with sandbags. I then used gaffers tape to adhere each panel to the L-shaped bracket vertically and photographed them one at a time.

Please ignore my messy garage.
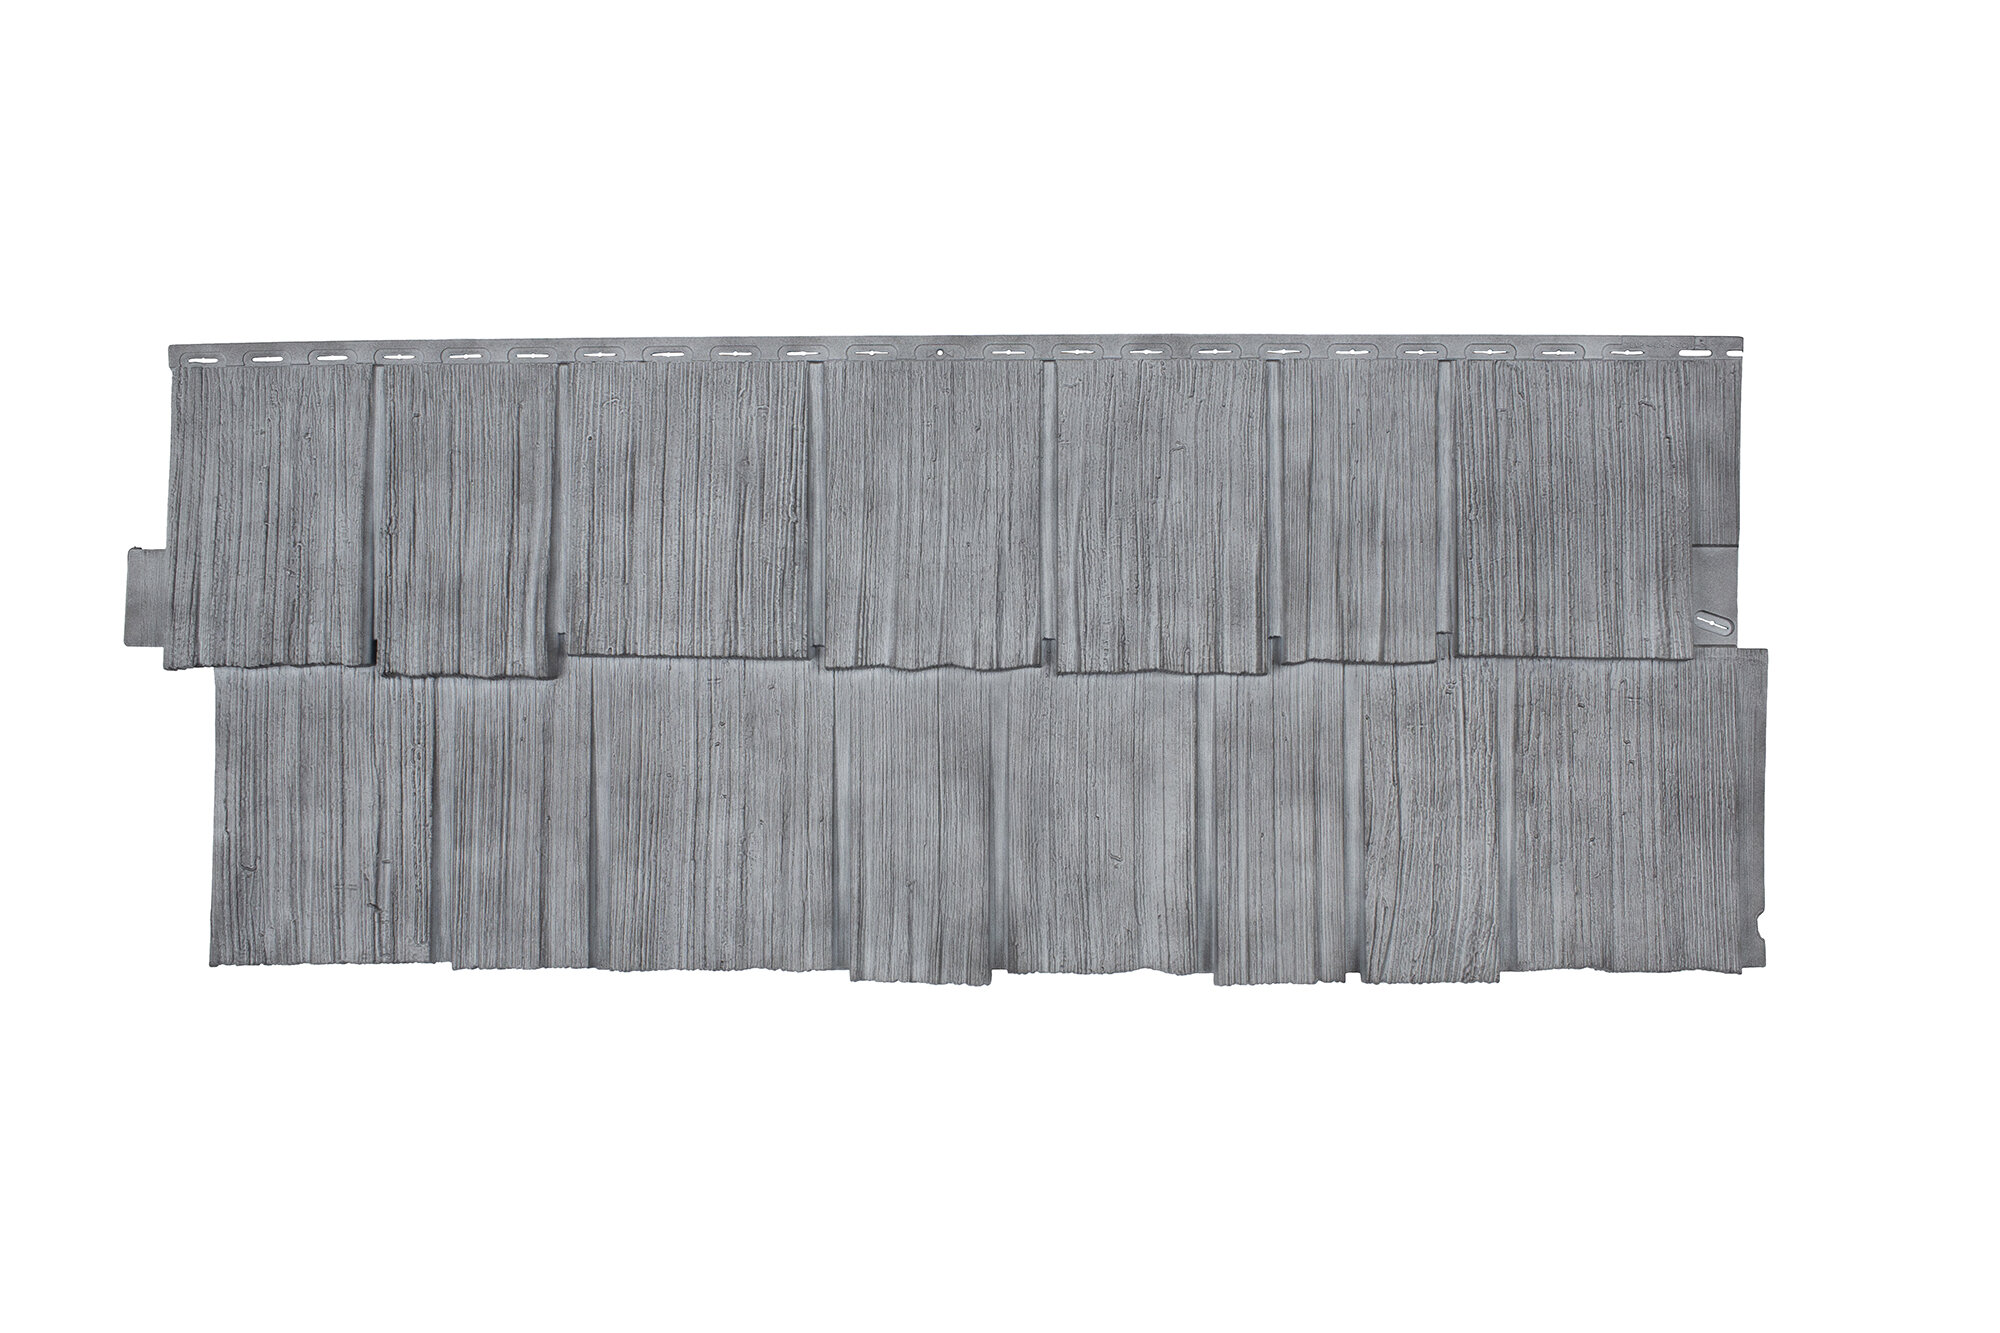
In addition to an overall wide, the client wanted a small panel secton to show details in color and texture. I used a 35mm prime lens for the overall wide photos and a 100mm macro for the details. Since all of these products were going to be dropped onto a plain white background with no shadows, I wasn't too concerned about showing various items of the edge of the frame. The key was to get all of the product on the white paper and lit correctly with the correct white balance. I used Profoto lighting for the entire project because Profoto makes awesome lights and there is ZERO color shift.
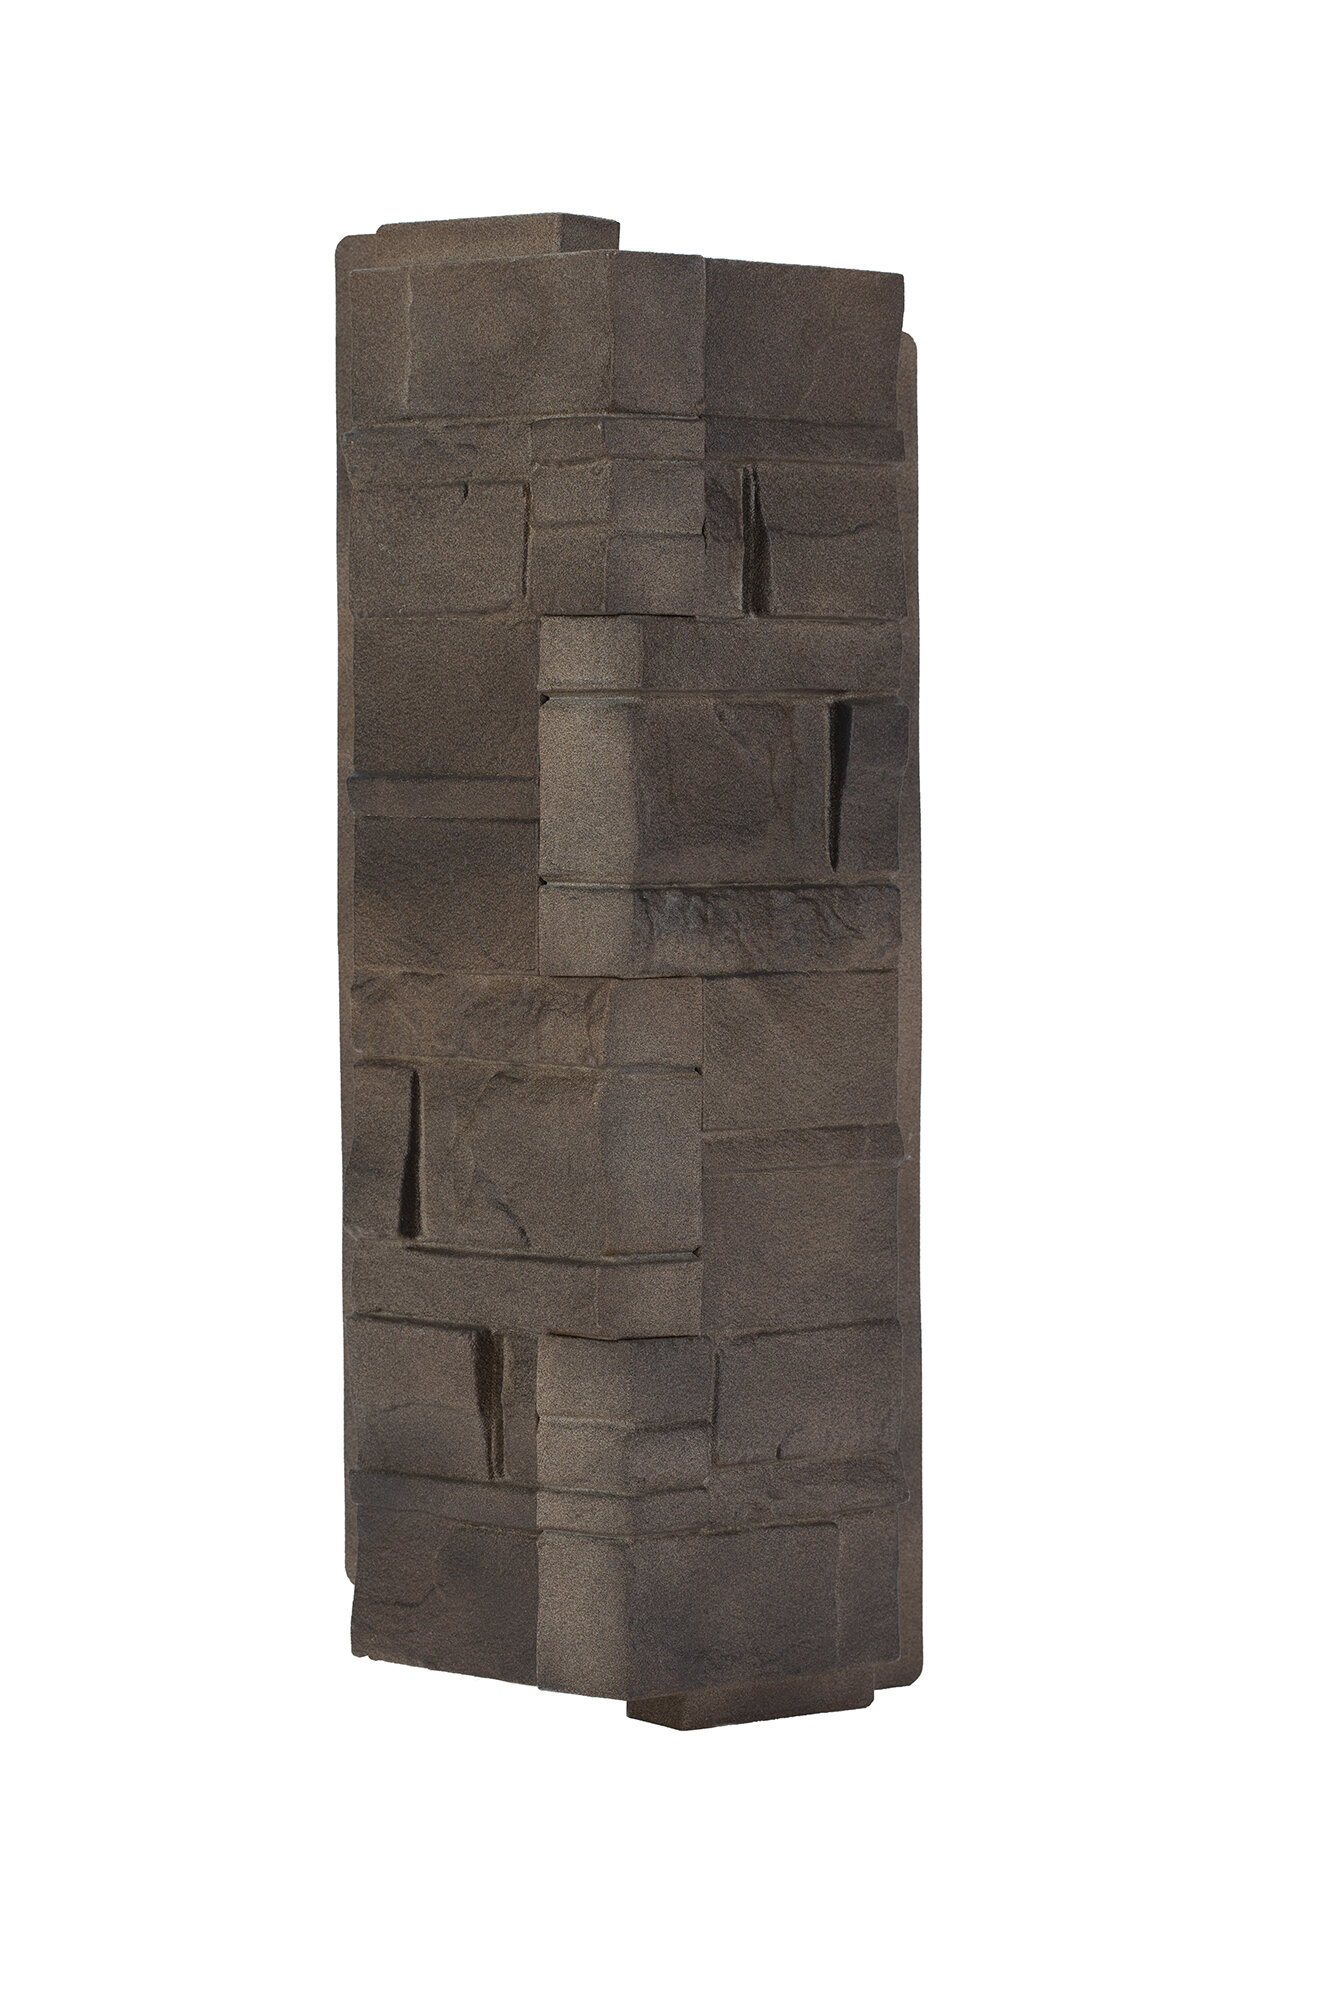
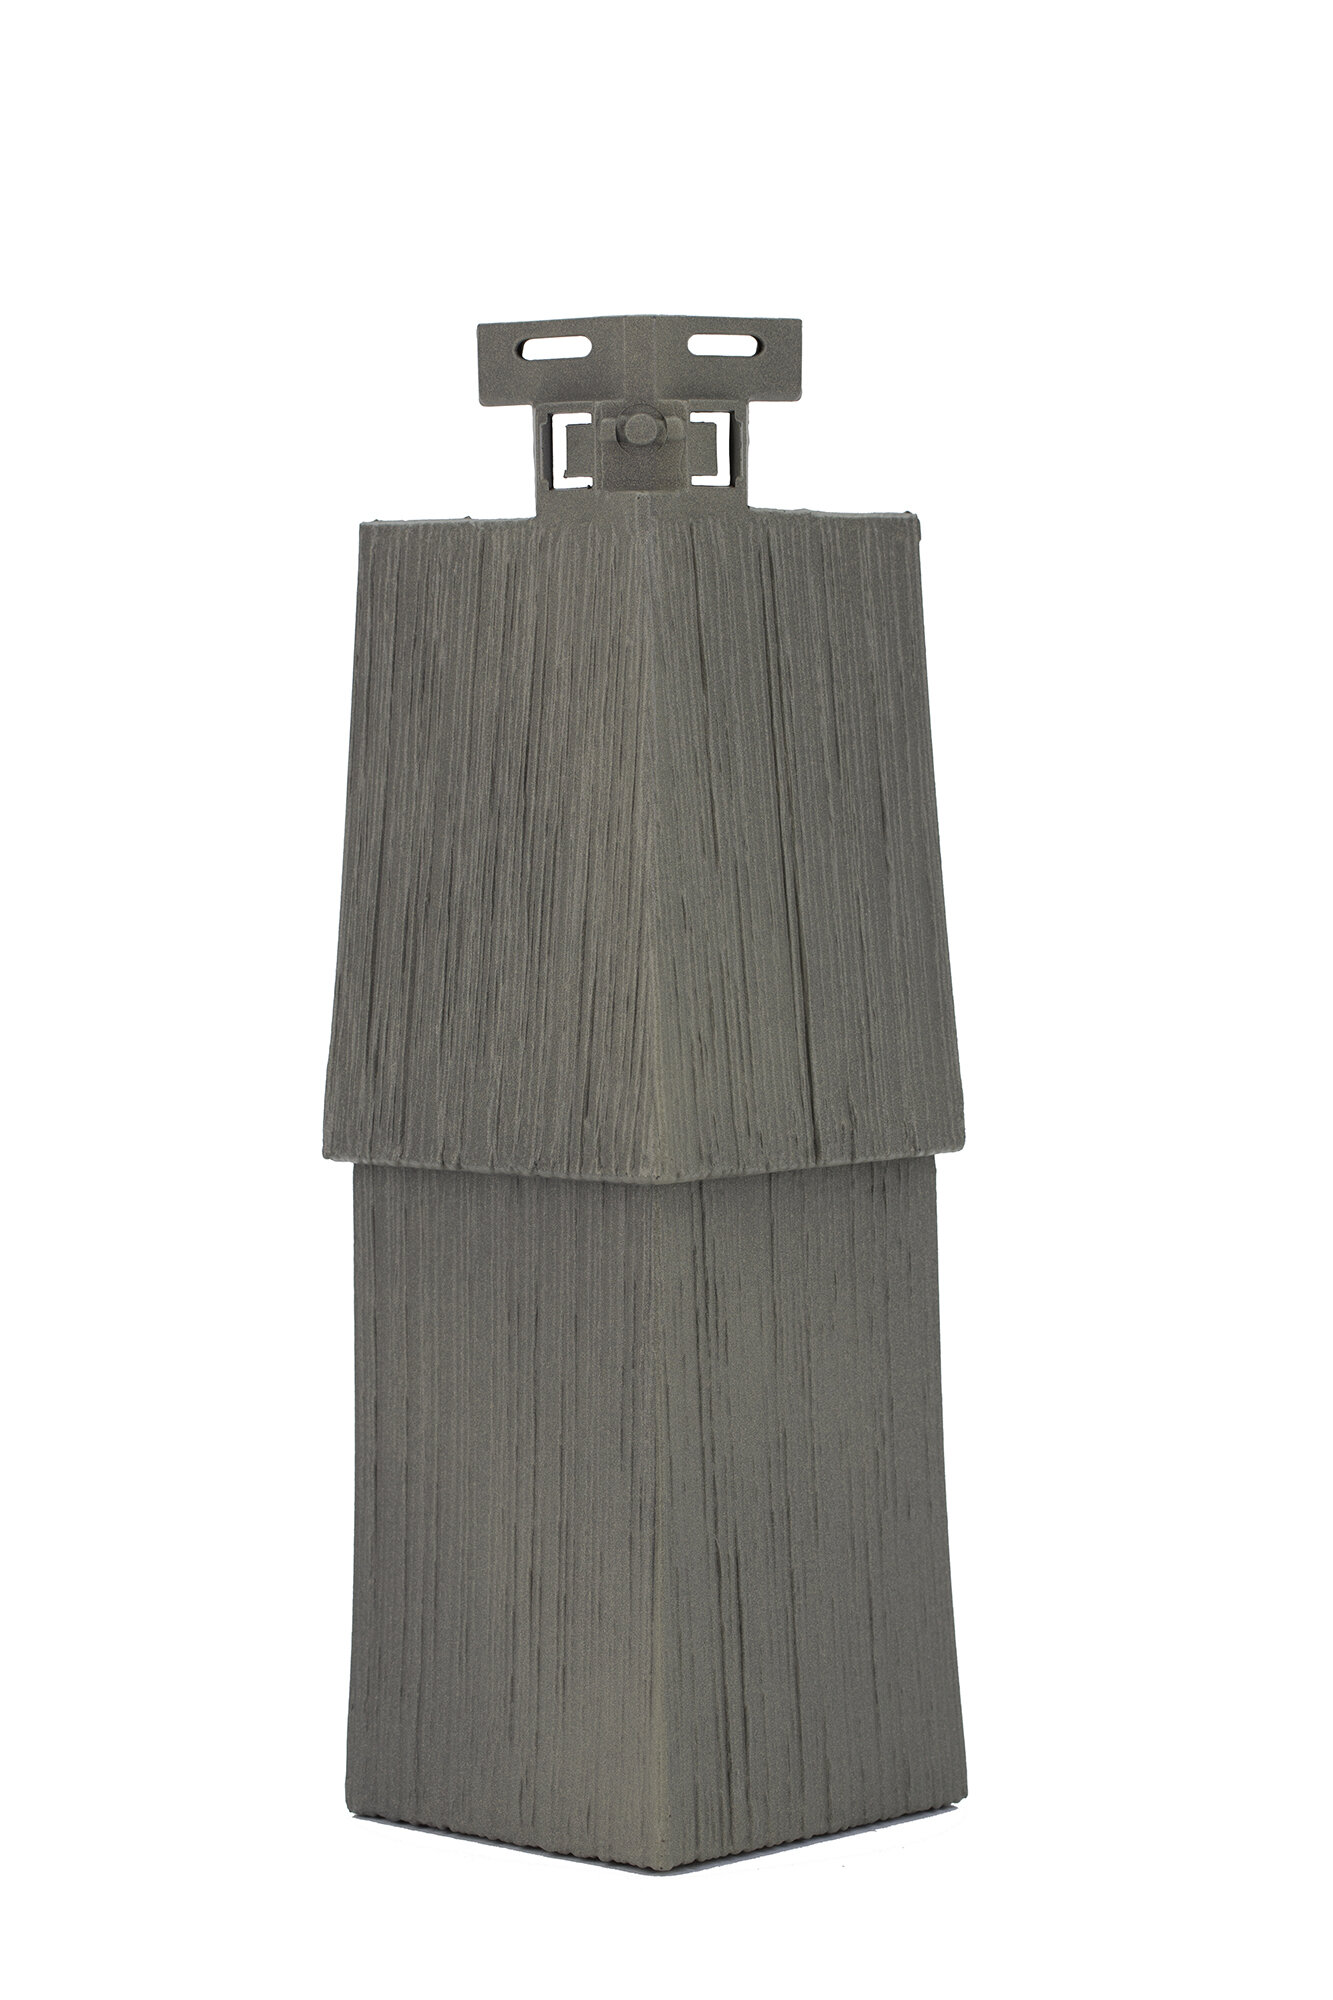
Overall, the eight foot long panels took the most time because of going back-and-forth between between the 35mm and a 100mm lenses. I marked the spaces on the floor where the tripod sat for each different lens, assuring correct scale and proportion for every piece. Once the color was approved for the eight foot panels, it was onto the corners. This was a relatively easy and straightforward shoot. I set up a small tabletop background using a four foot wide white seamless paper background. The overhead light was a deep white umbrella with diffusion and two strip lights without the grids lights which were set at approximately 4 o'clock and 8 o'clock on opposite sides.

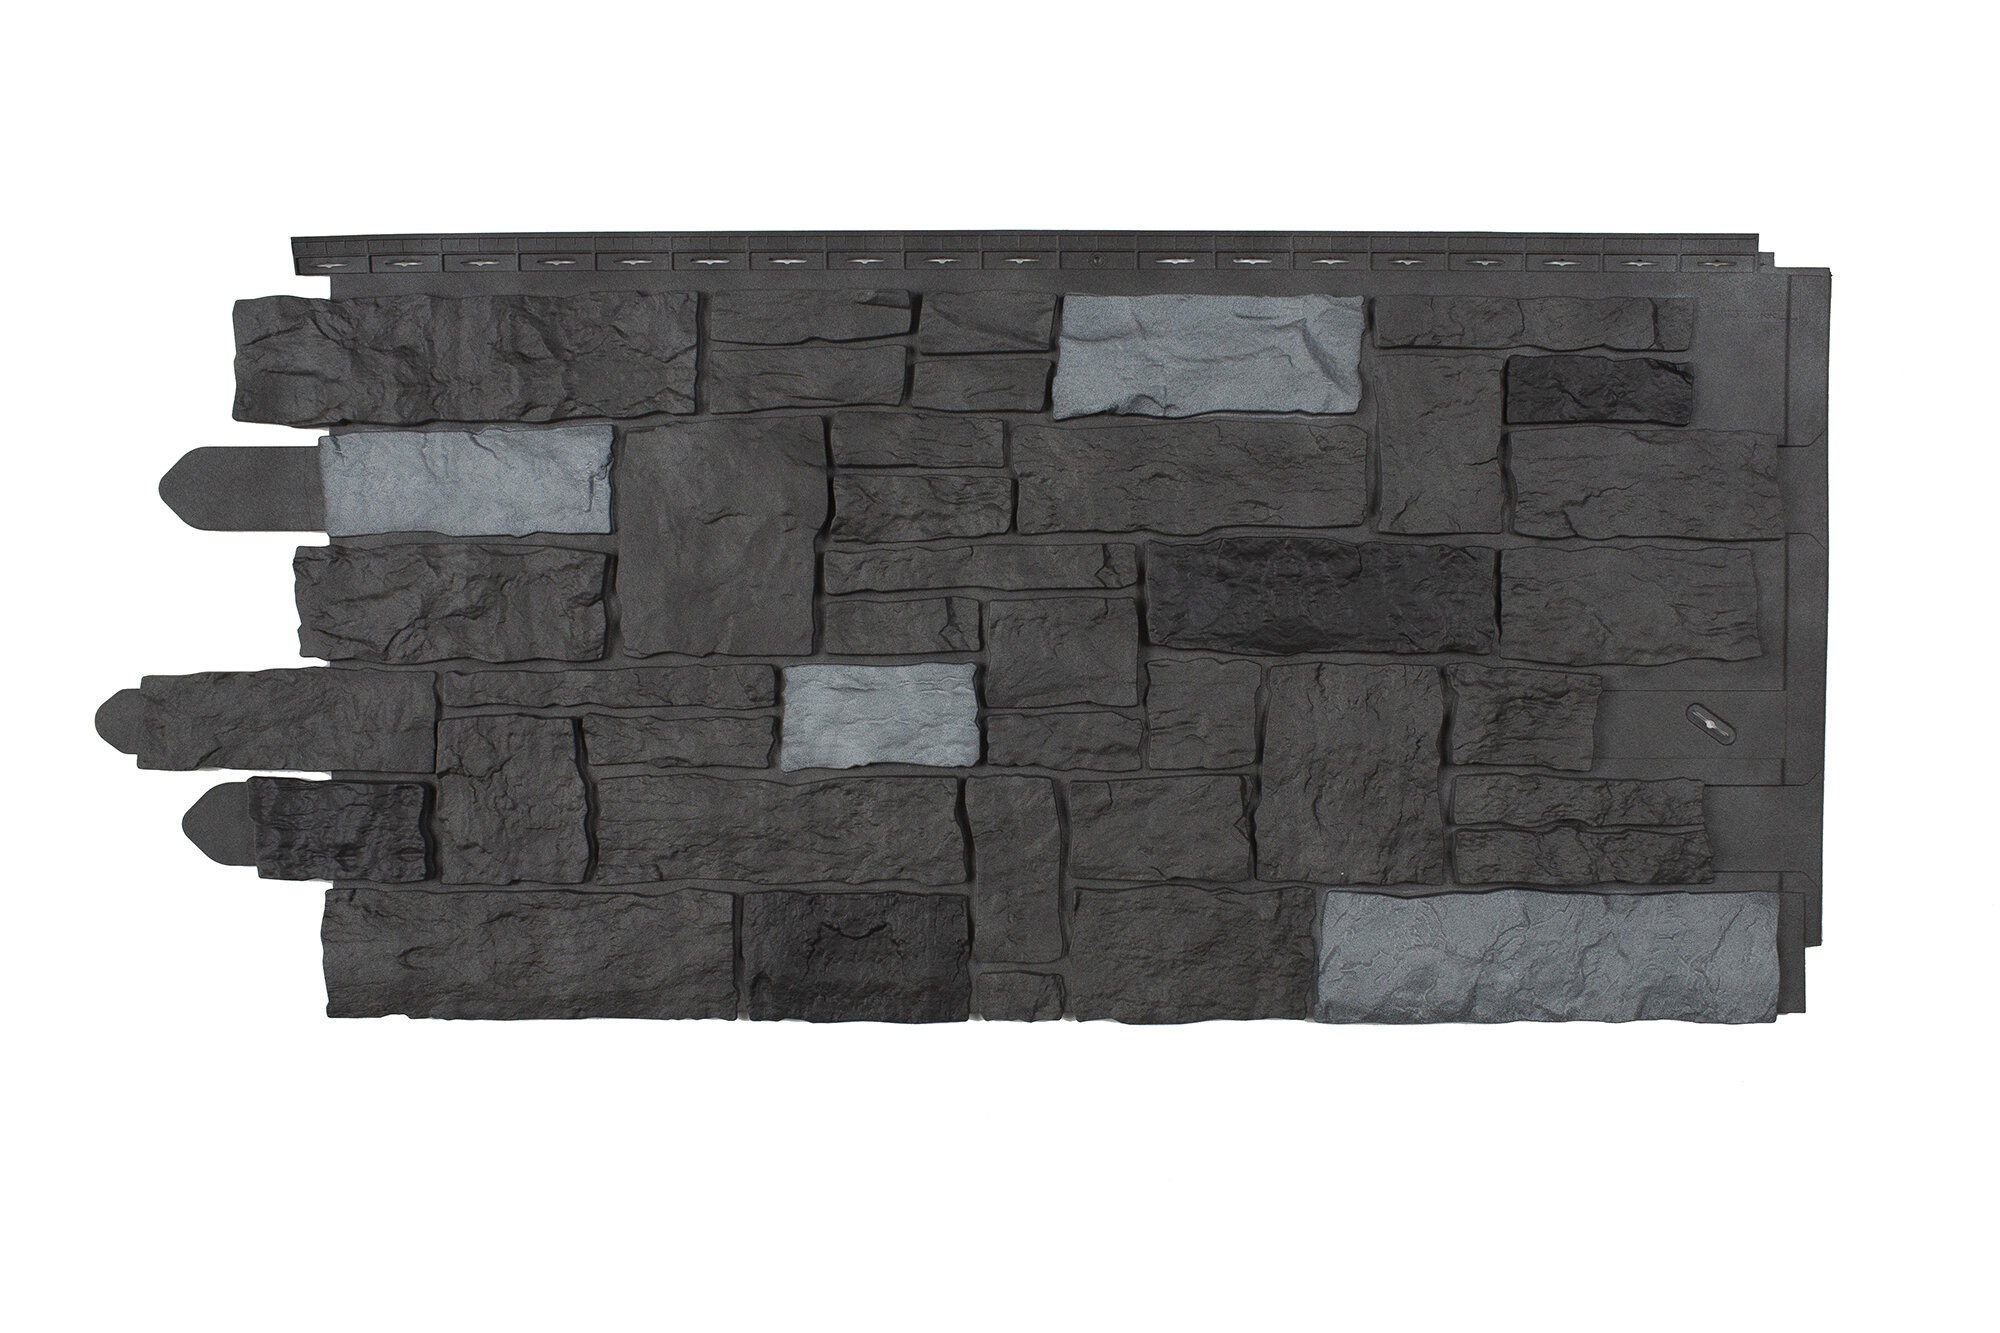
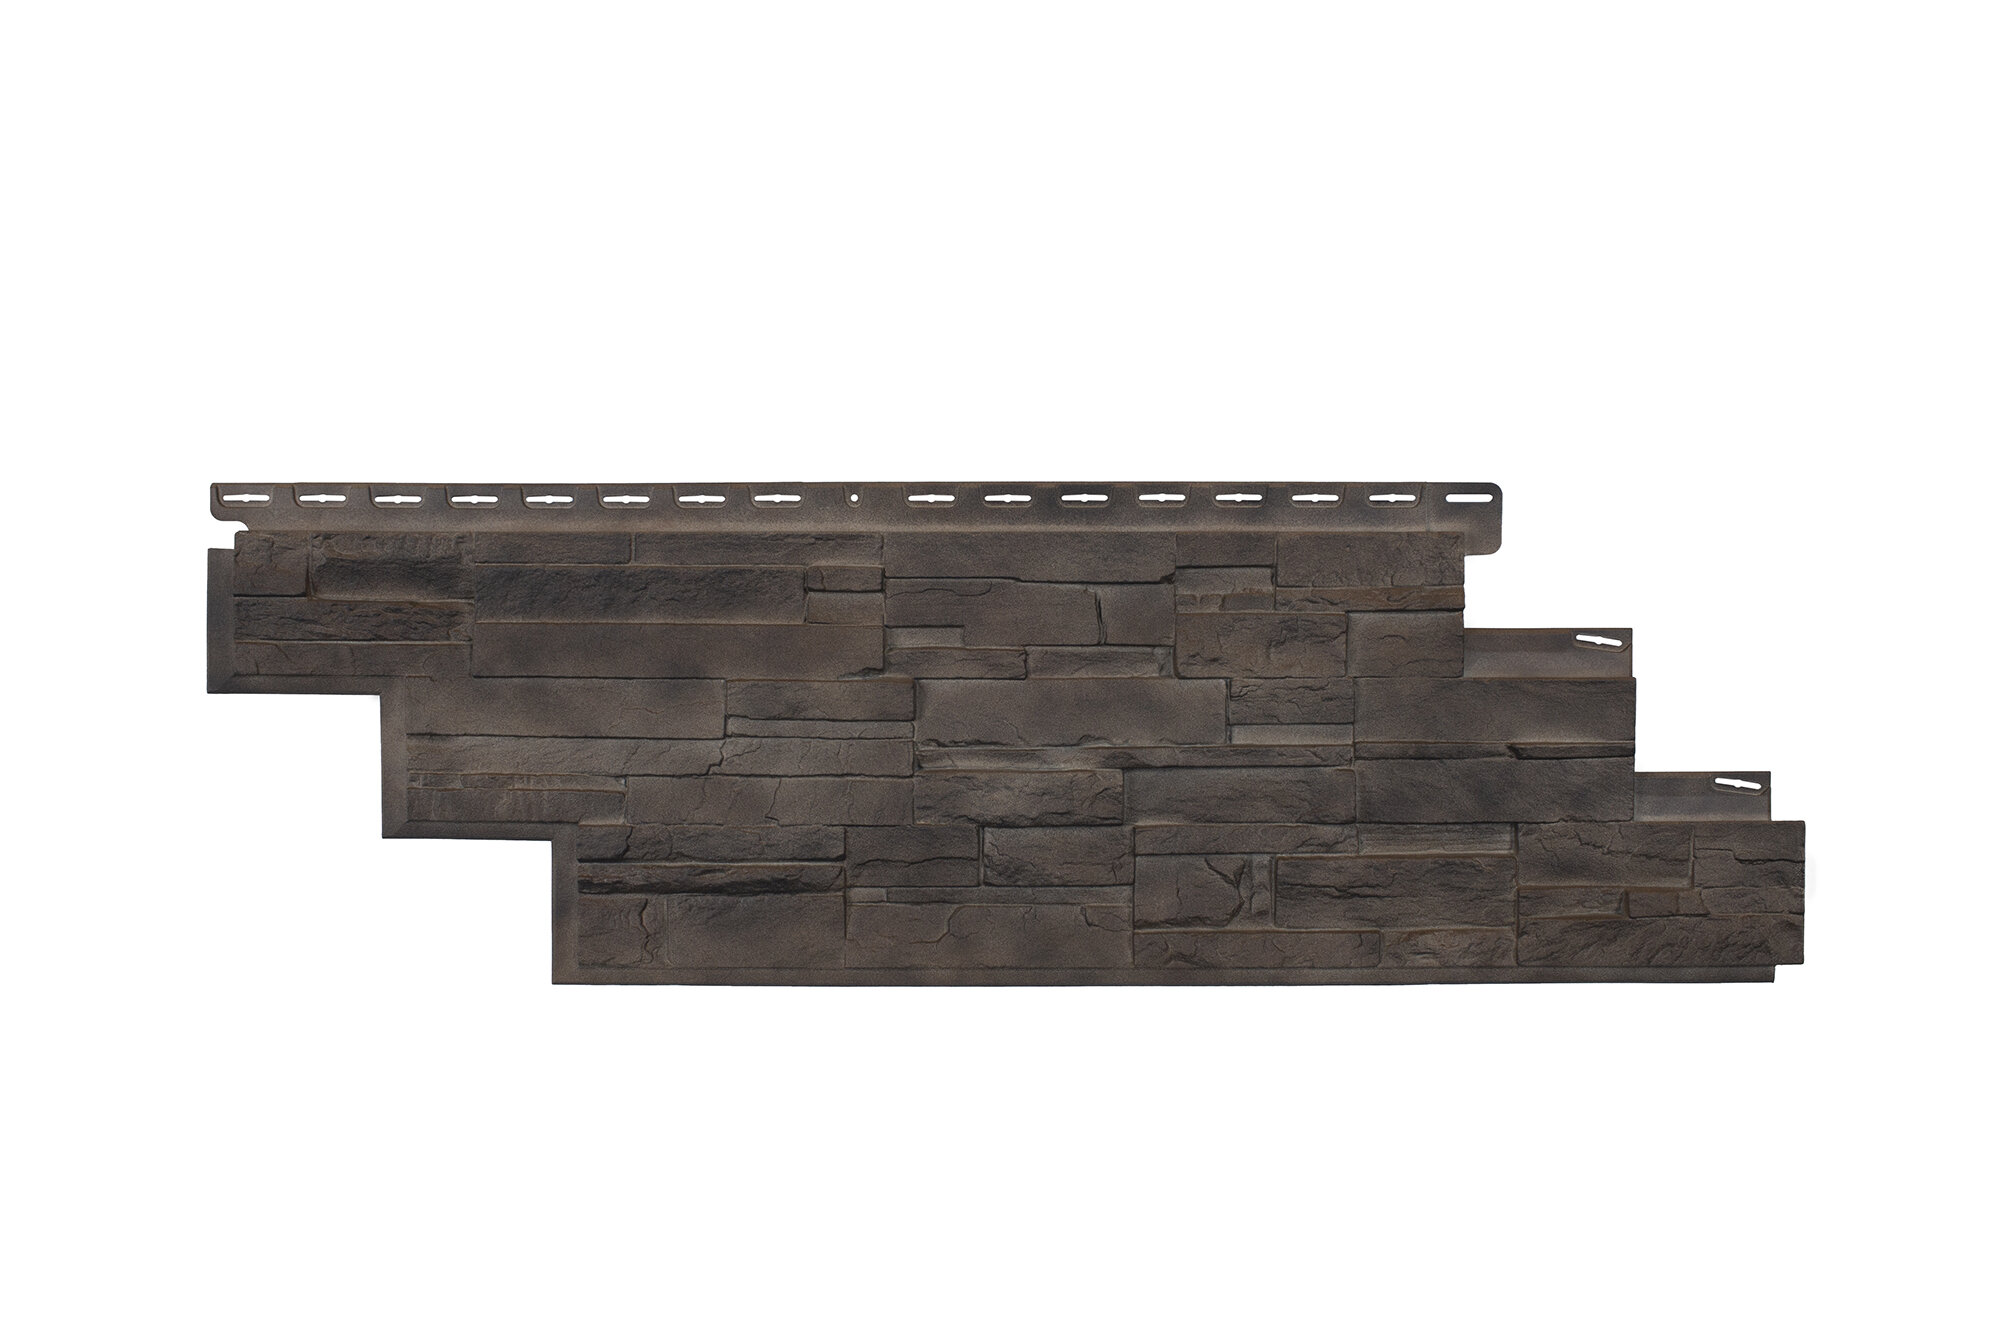
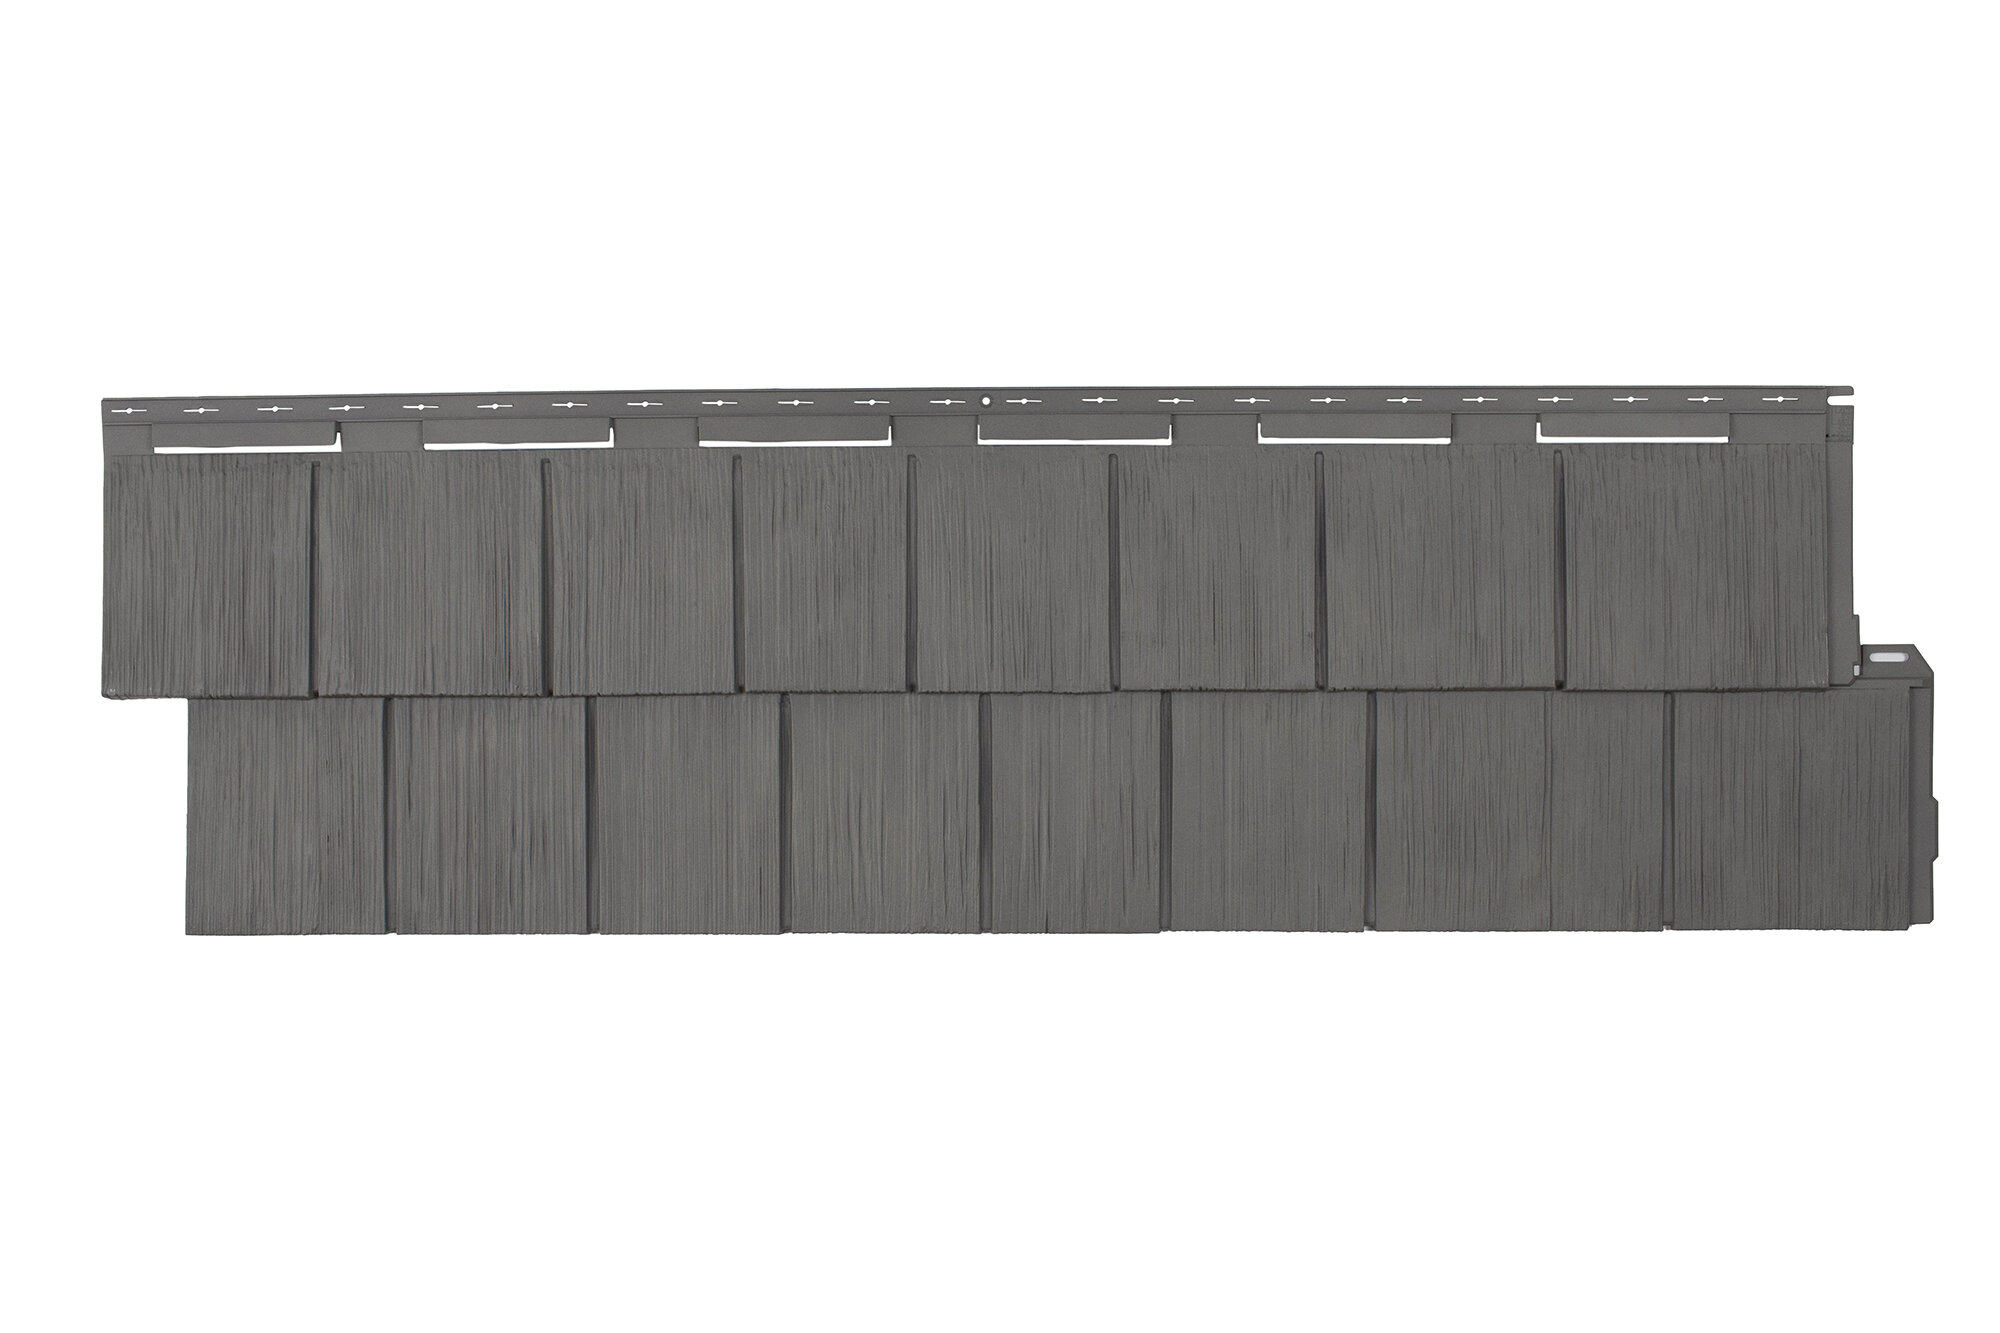
The finished eight-foot-long panel in Sequoia.

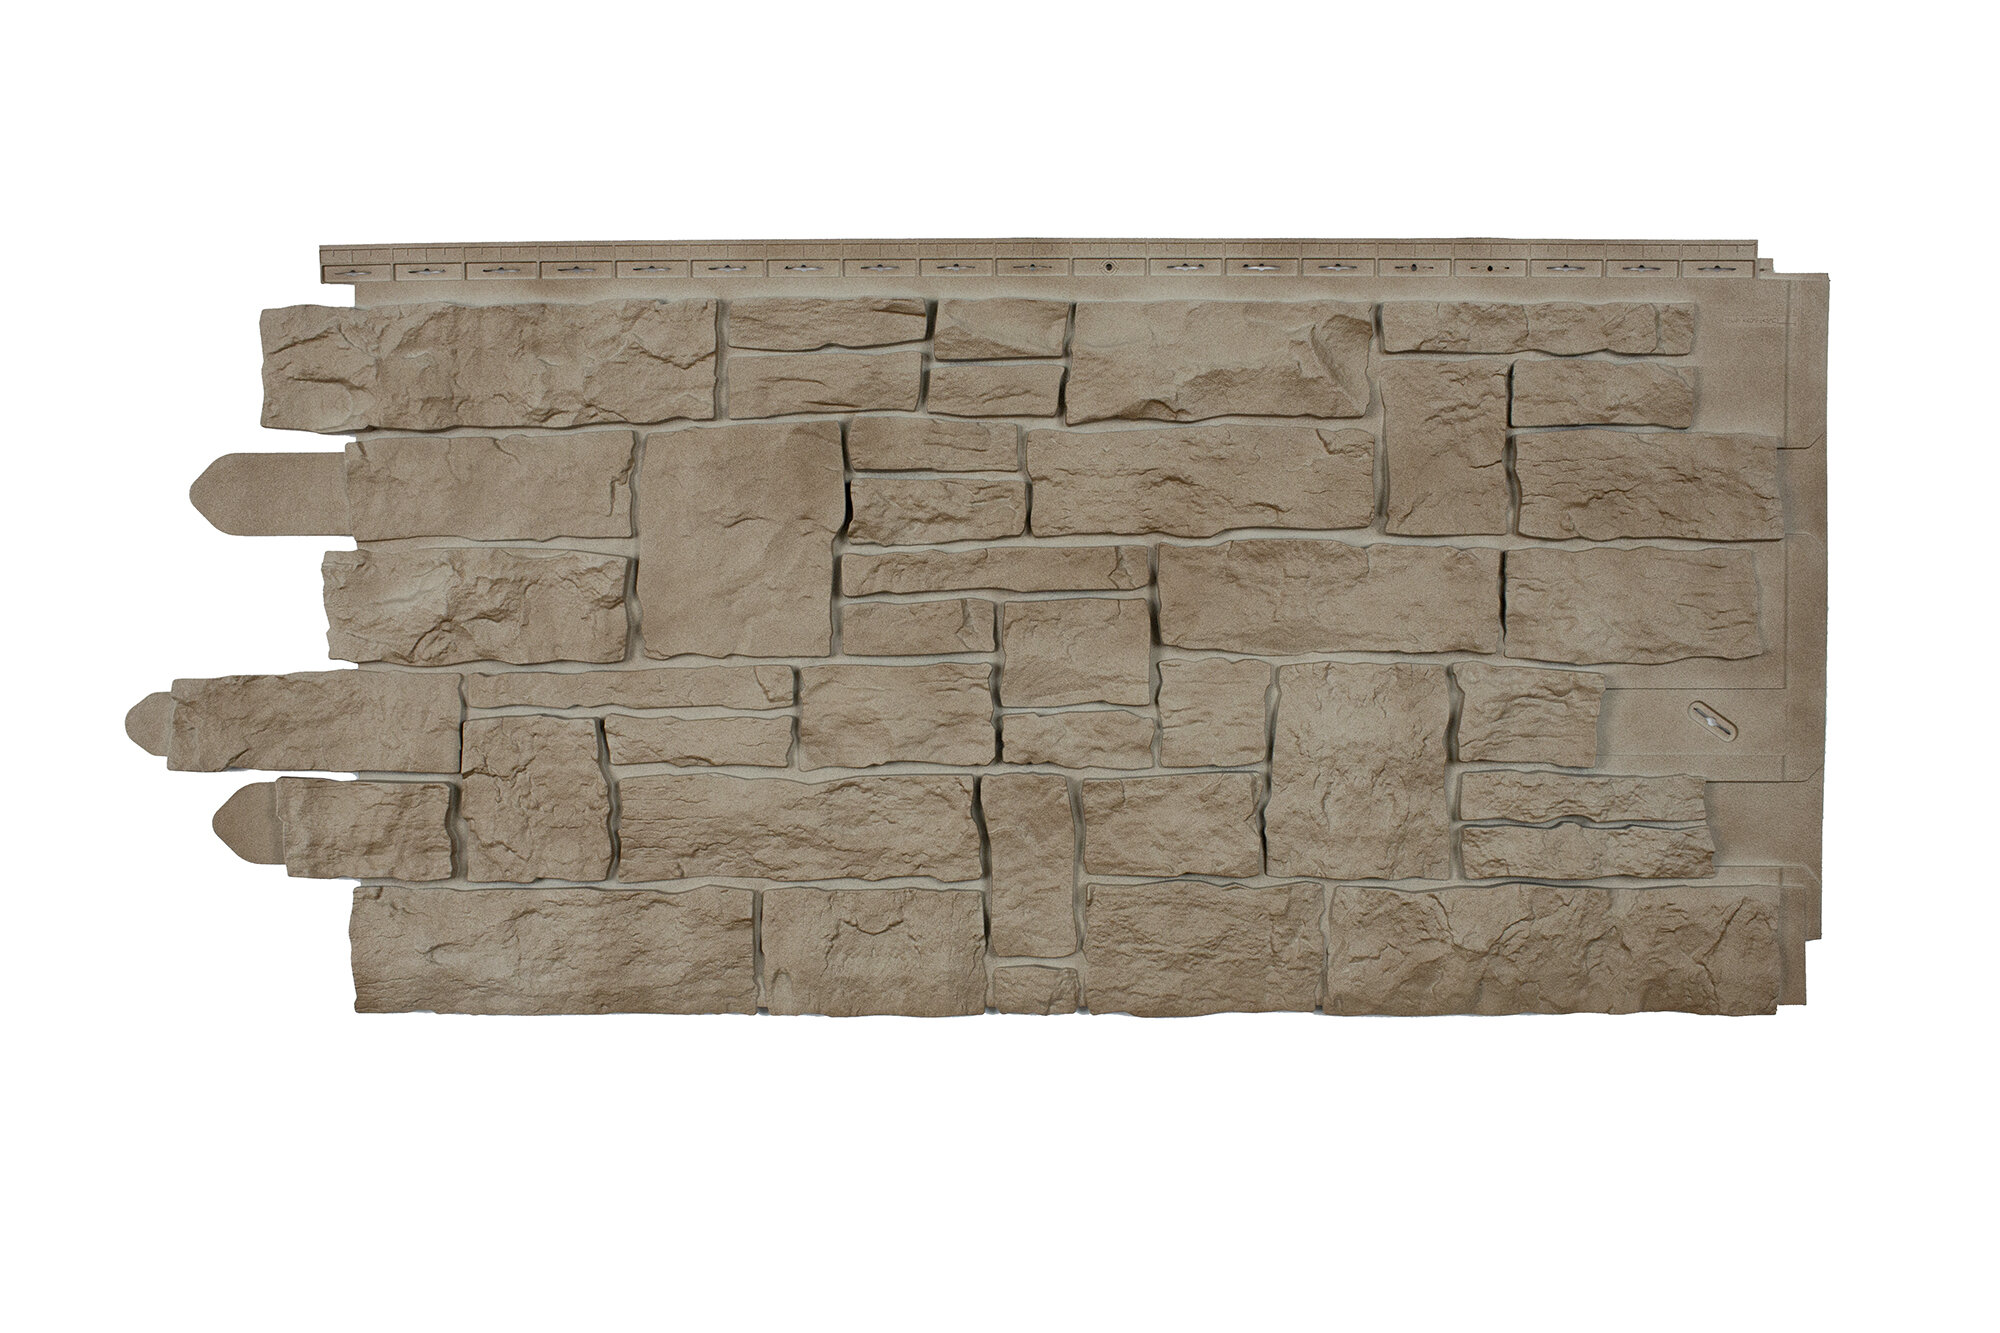
The finished detail panel in Sequoia.

For the smaller panels, I set up another white background allowing for the panels to lay fat. Some panels were set on a table and some directly onto floor. The lighting for set up was different. Two lights with deep white umbrellas were set at opposite ends of the table and up about eight feet high with the lights angled close to vertical. I wanted an even wash of light spilling down onto the panels and to avoid any reflections or glare. To photograph the flat panels, I attached my Canon 5D Mark III to a C-stand boom arm, and positioned directly overhead and centered to each panel. I used CamRanger to focus remotely and to trigger the shutter on my iPad and then each photo was previewed and checked before I moved on to the next. Each and every piece was photographed with the X-Rite color checker to ensure correct exposure and white balance accuracy.

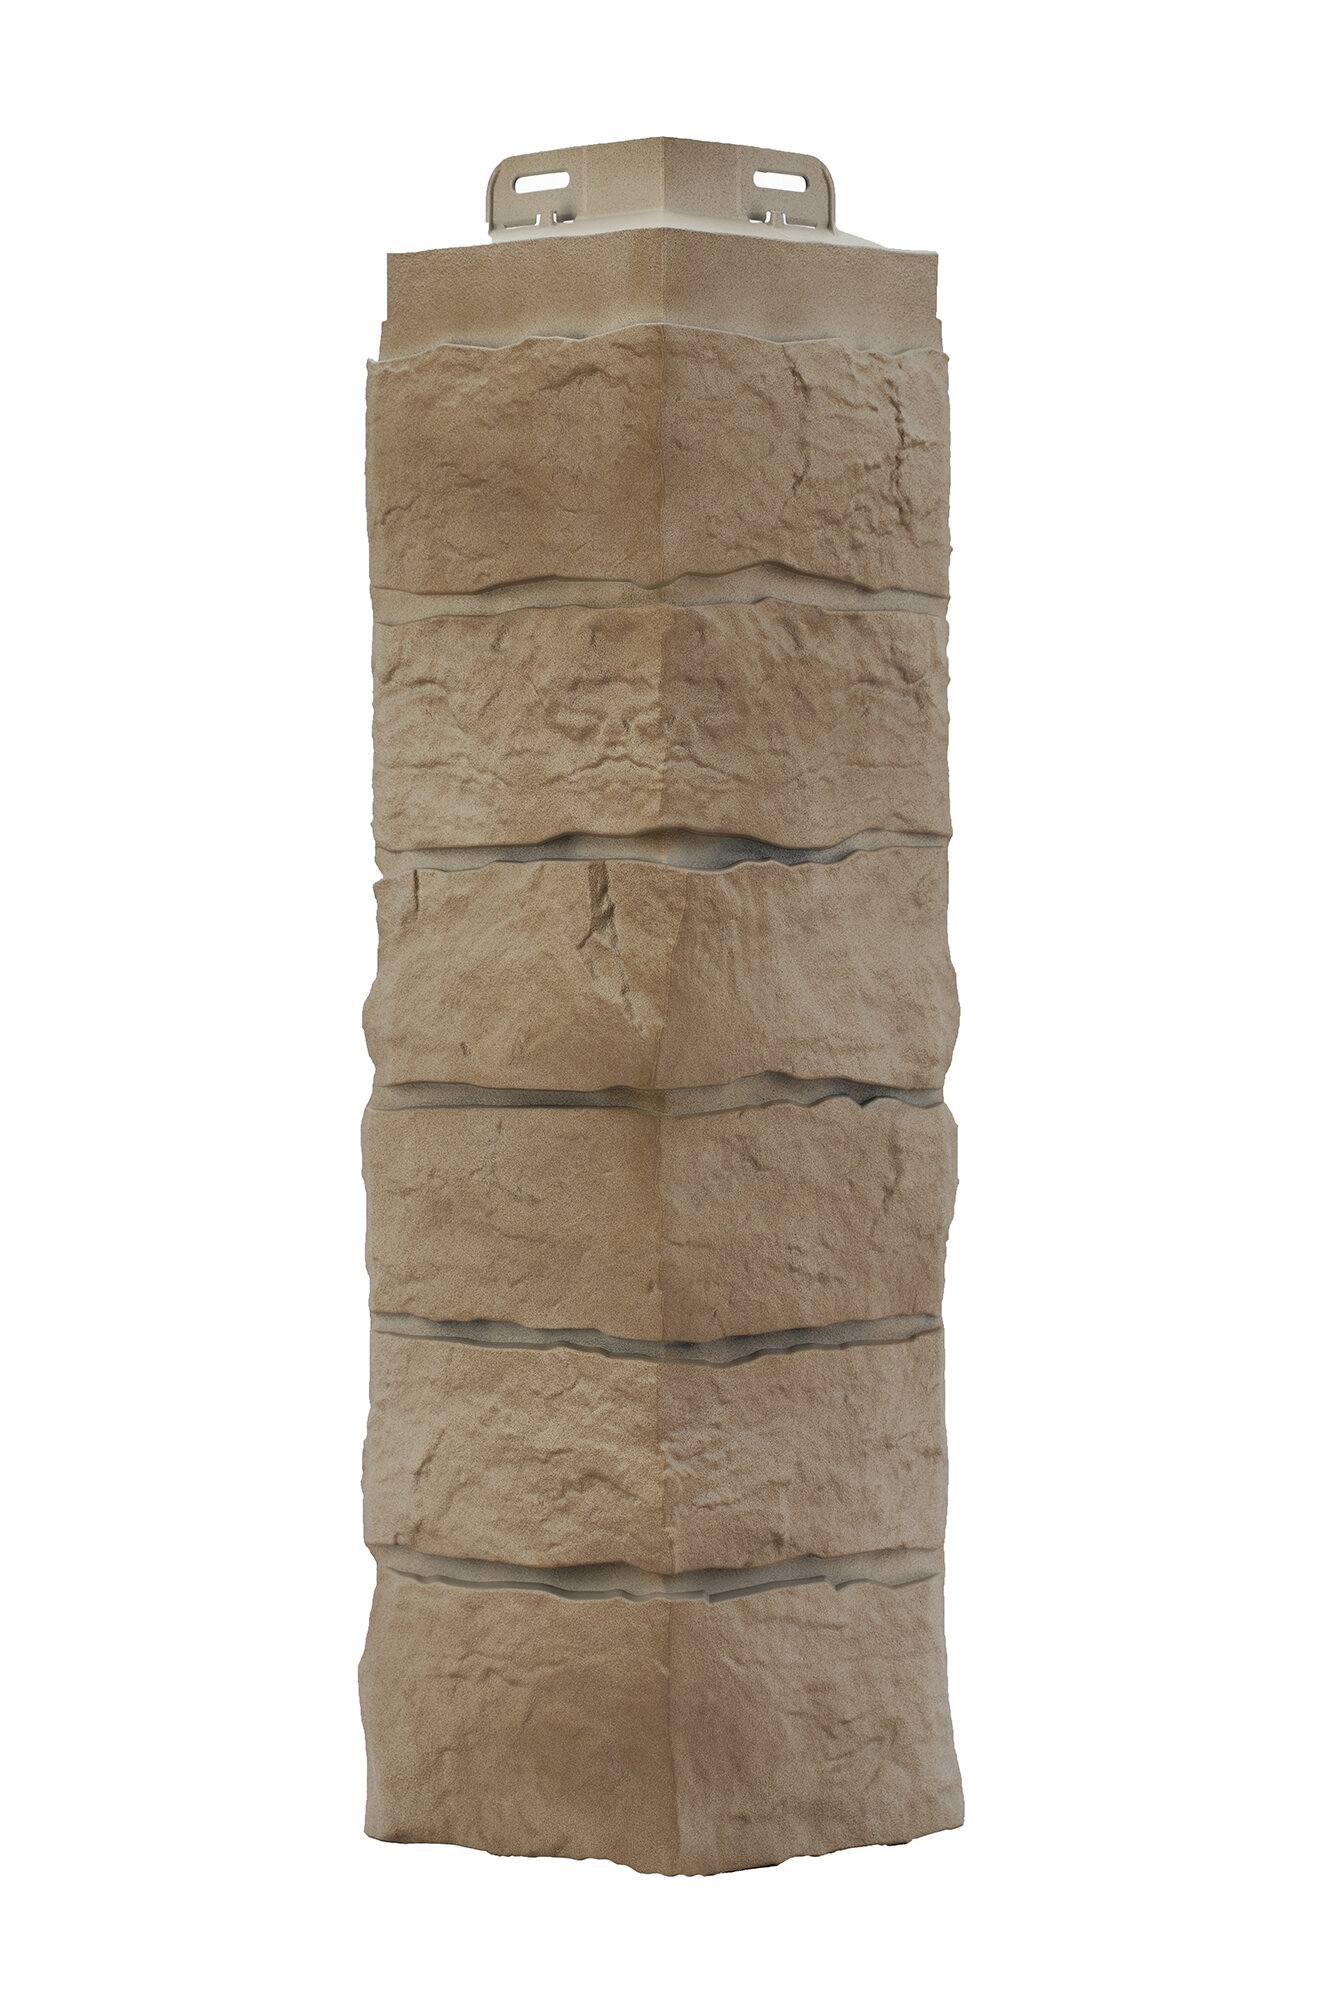
The finished corner piece in Sequoia.
The photography was the easy part. The real challenge for me came in post. As a photographer, I am used to slightly adjusting and tweaking colors in just about every photo I take. I want to bring down highlights, bring out details in the shadows and make the colors pop. For this particular project, and with many product photography projects where color is key, you cannot adjust the colors… at all.
For the sake of the consumer, each piece must be photographed as is, no color adjustments. Proper lighting and white balance was critical. Have you ever ordered something online because you liked a specific color, and then once the product arrived at home, the color was off? Like way off? Yep, it’s happened to me too. I wanted to make sure the color appeared exactly as is. With nearly 150 products to photograph, I only had to adjust colors per the clients request to fewer than seven.
Overall, the agency owner was extremely pleased with the results as was the Client. I am looking forward to more projects with both Clients later this winter and into the spring.